Setting Permissions for Your Wiki
You have several options available if you wish to restrict viewing or other capabilities within your wiki space. Visit the Confluence Space Permissions Overview for a rundown of the various permissions. There are three levels at which you can grant or revoke permissions: Groups, Individual Users and Anonymous Access.
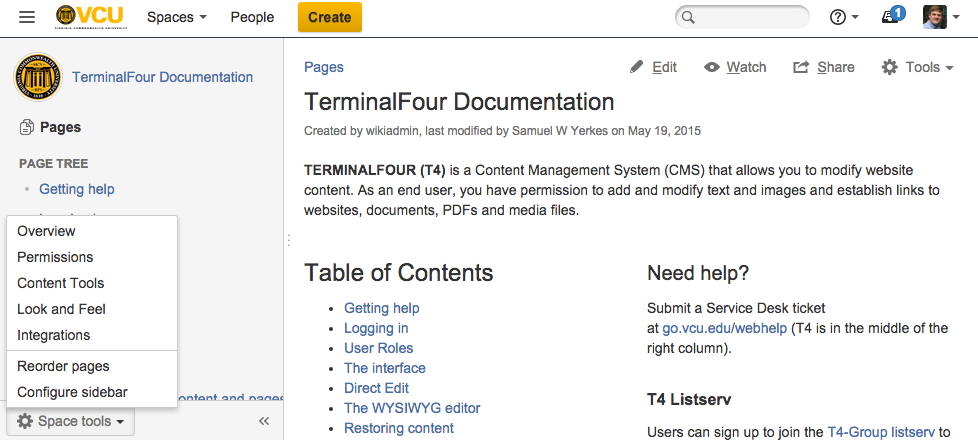
To set permissions for your space, the first step is to go to the admin screen for your space by going following the ‘Space Tools’ link in the menu that can be found in the bottom left-hand corner of the screen.

From your space admin screen, click the ‘Permissions’ link in the Security section of the left-hand sidebar, which will naturally take you to your Edit Space Permissions screen.

The groups that are available for use within wiki.vcu.edu are LDAP groups, which are generally created automatically and to which individuals are usually assigned automatically based on their affiliation with the university. For instance, someone working for Technology Services will belong to the staff group as well as the Technology Services group.
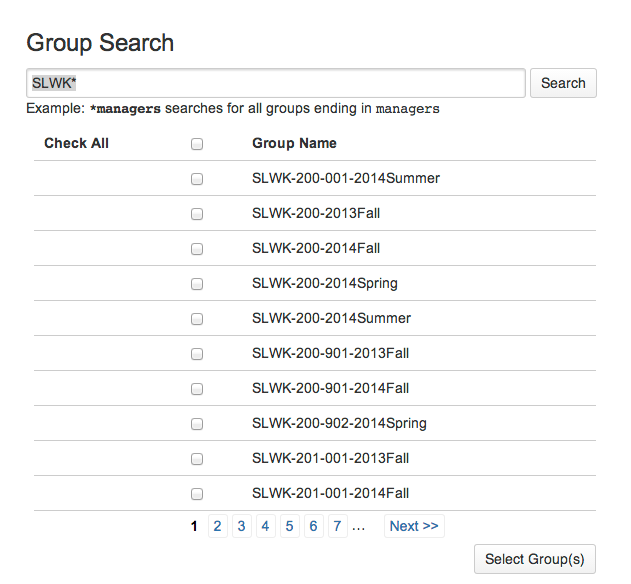
Since a group is created for each course each semester, an instructor can create a baseline set of permissions for students in a course by assigning those permissions to the course’s group. Group names generally follow the naming convention of combining a program code, course number, section number (if there is one), year and semester as in the following example:
SLWK-603-001-2011Fall
If you know the full group name, you can enter it in the search box.

If you need to perform an advanced search, click the magnifying glass next to the search box to open the advanced Group Search feature in a new window.

For individual users, you can follow the same general process and use a user’s eID instead of a group name.
It is best to disable all Anonymous Access permissions with the possible exceptions of View and Add Comments. Allowing anonymous visitors to do anything else within your space is an open invitation to spammers.

To select or deselect all options, click the gear icon to the right of the relevant row in the permissions table and click ‘Select All’ or ‘Deselect All’. After assigning permissions for a group, a user or anonymous access, be sure to click the ‘Save’ button at the top or bottom of the screen so that your changes are not lost.
This article was updated: 09/10/2015