Creating, Deleting & Renaming Groups
Creating a Group
1. Go to filelocker.vcu.edu
2. Click the Manage Groups button on the My Files screen

3. Click the Add New Group button. Then, type a name for the group, and click the green + button to the right of the group name to create the group.

Your group is now listed, and you can add members to it
Deleting a Group
1. Go to filelocker.vcu.edu
2. Click the Manage Groups button on the My Files screen

3. Check the box to the left of the group name that you'd like to delete, and click the Delete Selected button

Note: You will not receive any warning or confirmation dialog, so be careful when deleting a group!
Renaming a Group
1. Go to filelocker.vcu.edu
2. Click the Manage Groups button on the My Files screen

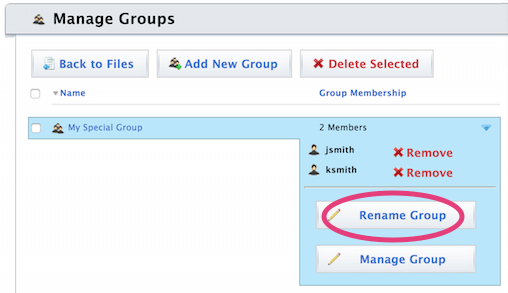
3. Find your group in the Manage Groups screen, and then click on either the group name or on the blue triangle to the far right of the group name

4. Click on the Rename Group button

5. Type in a new name for your group, and click the floppy disk icon to save it. Or click the red X to cancel.

This article was updated: 08/2/2015