Uploading Files
This page will show you how to upload files to Filelocker.
1. Go to filelocker.vcu.edu
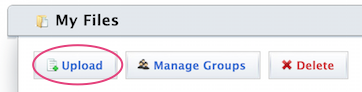
2. Click the Upload button on the My Files screen
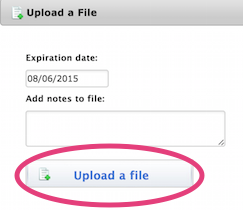
3. Click the Upload a file button to browse and upload your file.
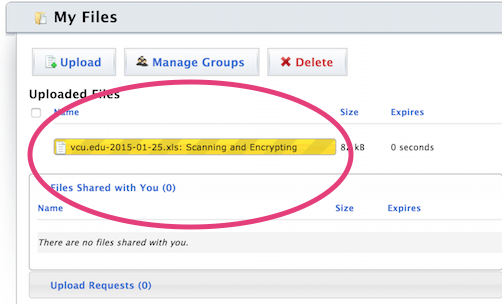
4. Your file will be automatically scanned for viruses, and then encrypted.
5. Your file is now in Filelocker! It will expire on the date indicated (in the example, it is August 6, 2015).
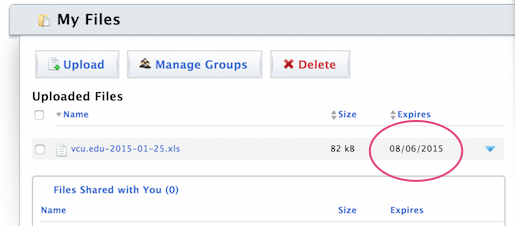
Uploaded files expire within 2 weeks for default. Files can be set to expire sooner, but cannot expire past 2 weeks.
Once files are uploaded, they can be shared with others.
From here, you can also:
- Manage Groups of users with whom you periodically may need to share files with
- Delete an existing file
This article was updated: 08/3/2015